Shabby Chic DIY Projects
Key Takeaways
- Explore DIY projects suitable for all skill levels.
- Learn how to personalize your space with shabby chic decor.
- Discover materials and techniques that create vintage charm.
Transforming your living space can be a rewarding experience, especially with the enchanting style of shabby chic decor. Whether you're a beginner or an expert DIY enthusiast, there are a variety of projects that allow you to add personality to your home while enjoying the creative process. In this guide, we will introduce you to several shabby chic DIY projects ranging from simple crafts to more elaborate endeavors.
What is Shabby Chic Decor?
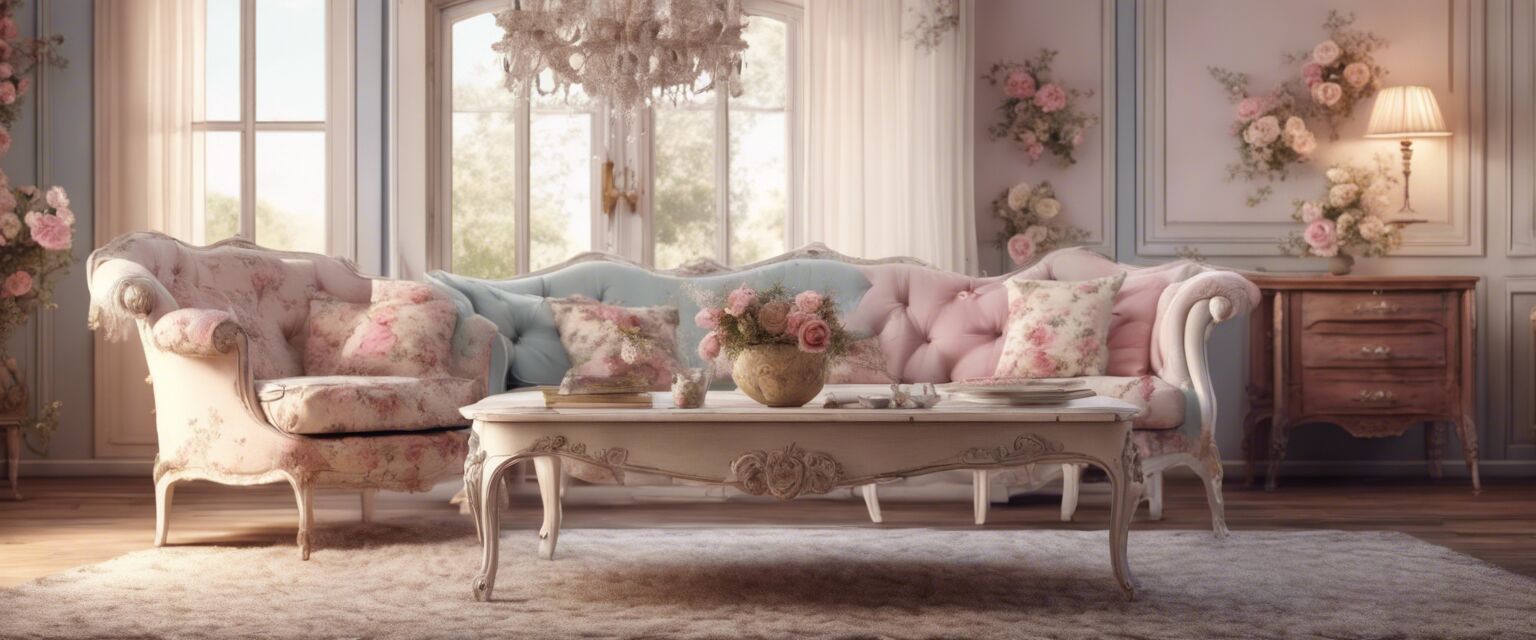
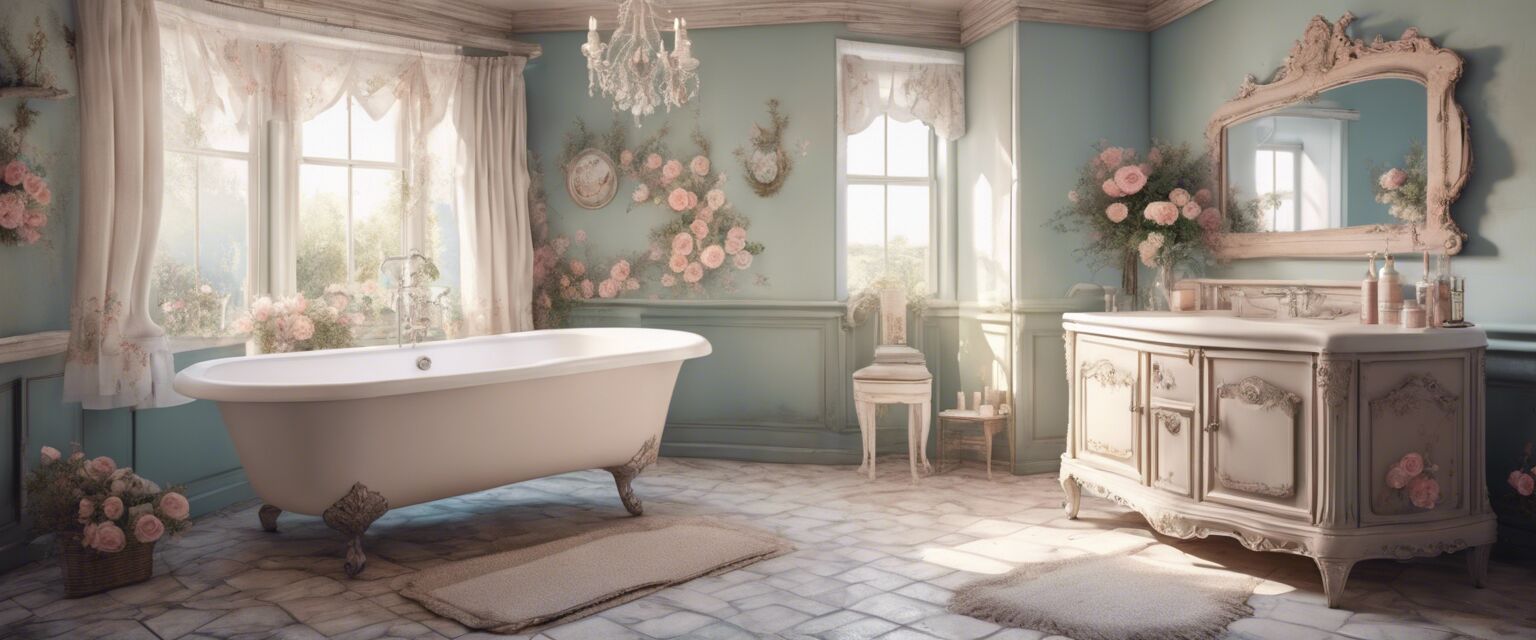
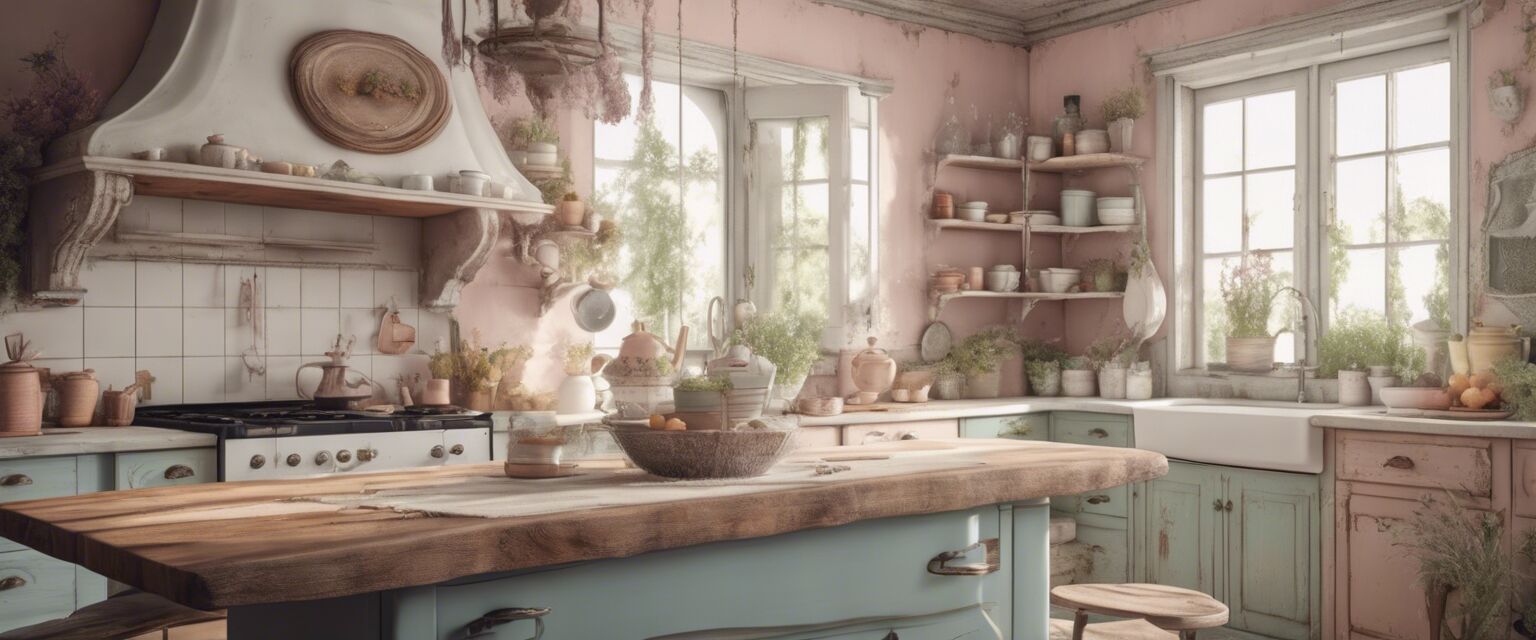
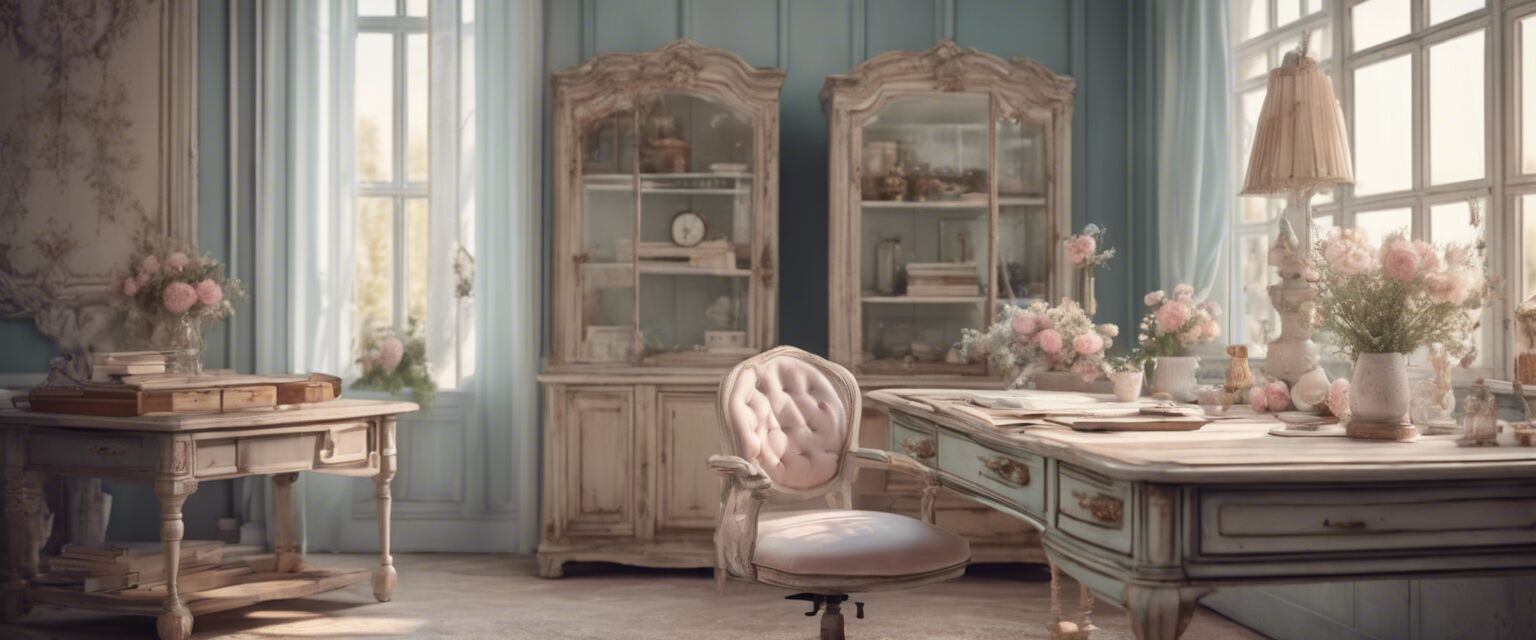
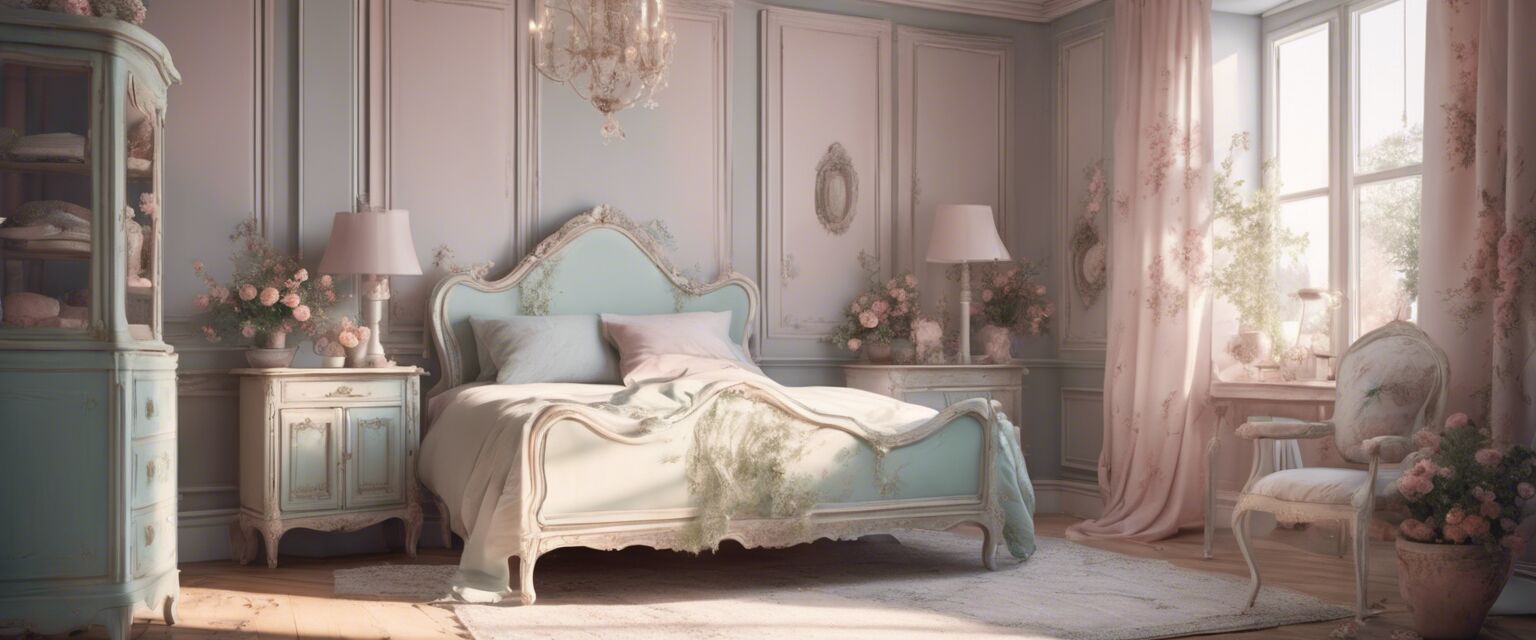
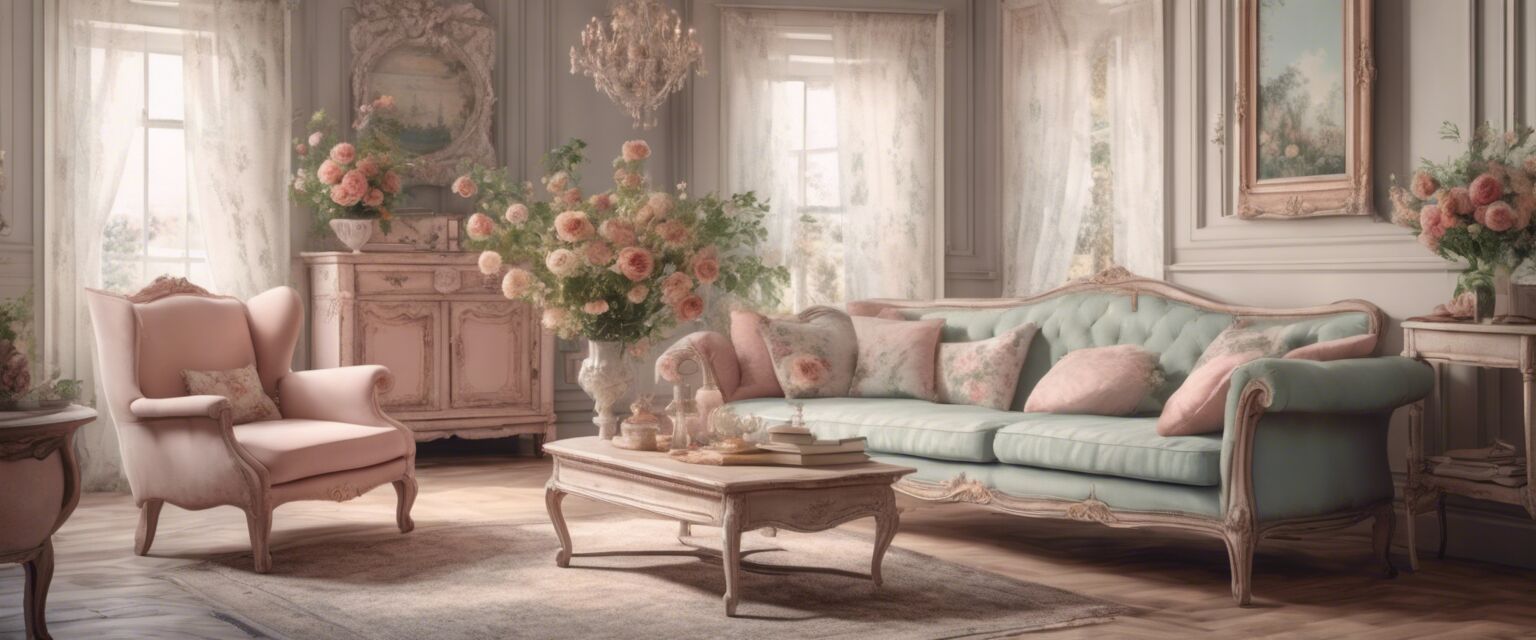
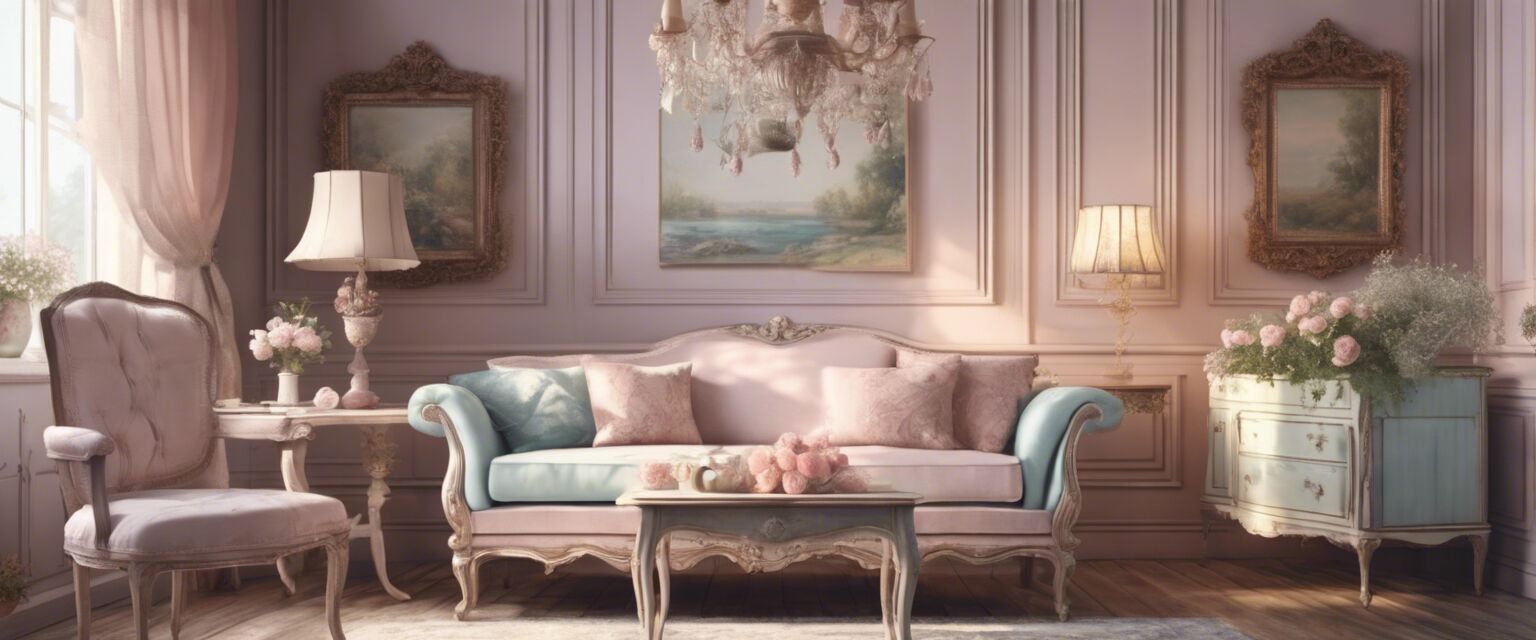
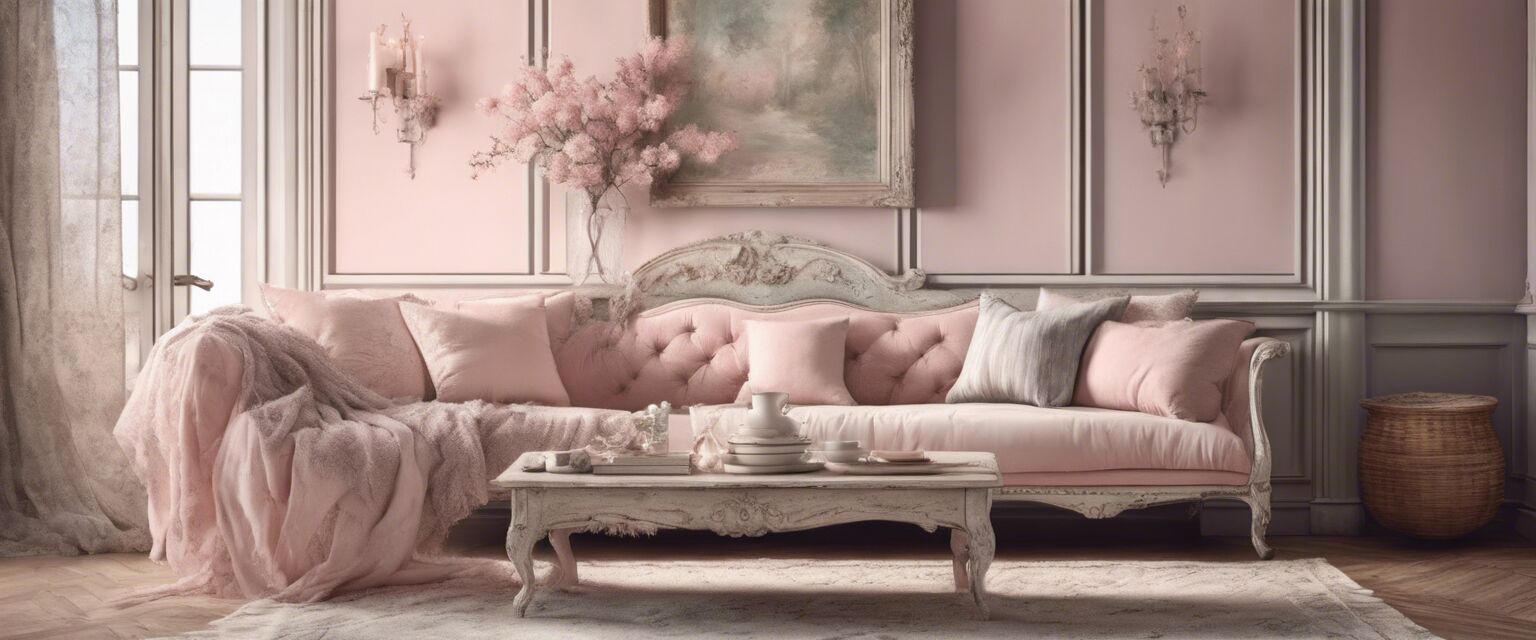
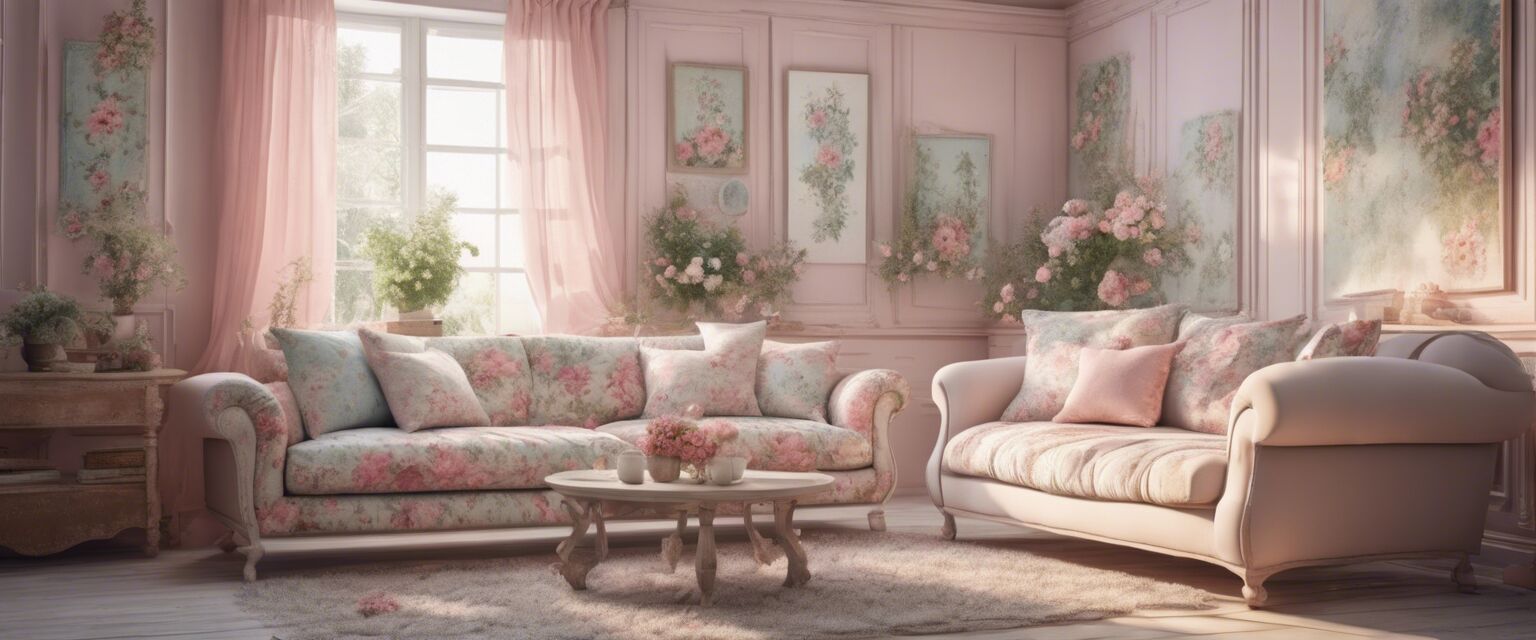
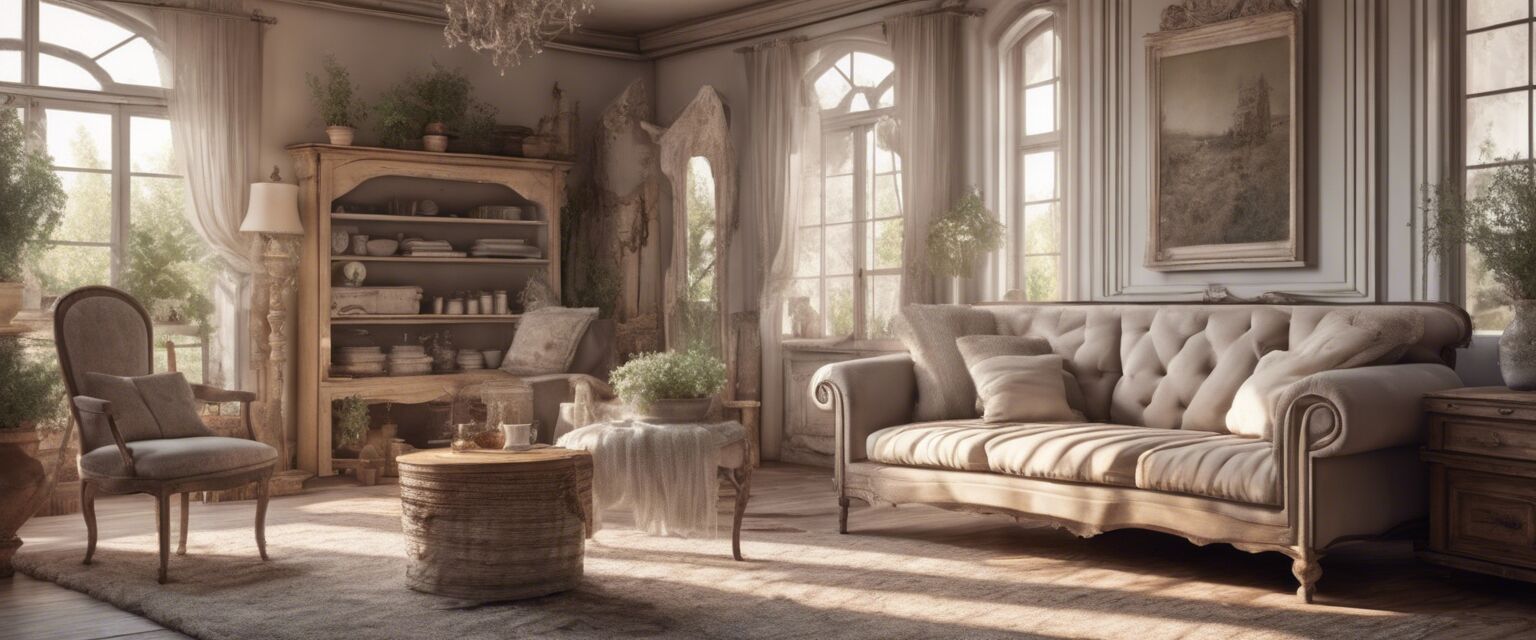
Shabby chic is a design style characterized by an inviting and vintage aesthetic. It often embraces a soft color palette, distressed finishes, and romantic elements. The aim is to create a warm and cozy atmosphere that feels both lived-in and elegant.
Essential Features of Shabby Chic Decor
- Soft pastels and muted colors
- Distressed furniture and finishes
- Feminine details like lace and florals
- Vintage accessories and textiles
Benefits of Shabby Chic DIY Projects
Engaging in shabby chic DIY projects not only beautifies your space but also allows you to express your creativity. Here are some of the benefits:
Pros
- Cost-effective method to personalize your space.
- Utilizes recycled or upcycled materials.
- Each project can be tailored to your individual style.
- Fun and engaging, perfect for families or groups.
Cons
- Requires time and effort to complete projects.
- May need tools and materials that require investment.
- Results can vary based on skill level.
Beginner to Advanced Shabby Chic DIY Projects
Let's explore some inspiring projects ranging from beginner to advanced levels. Each section provides a brief overview, materials needed, and steps to get started.
1. Shabby Chic Picture Frames
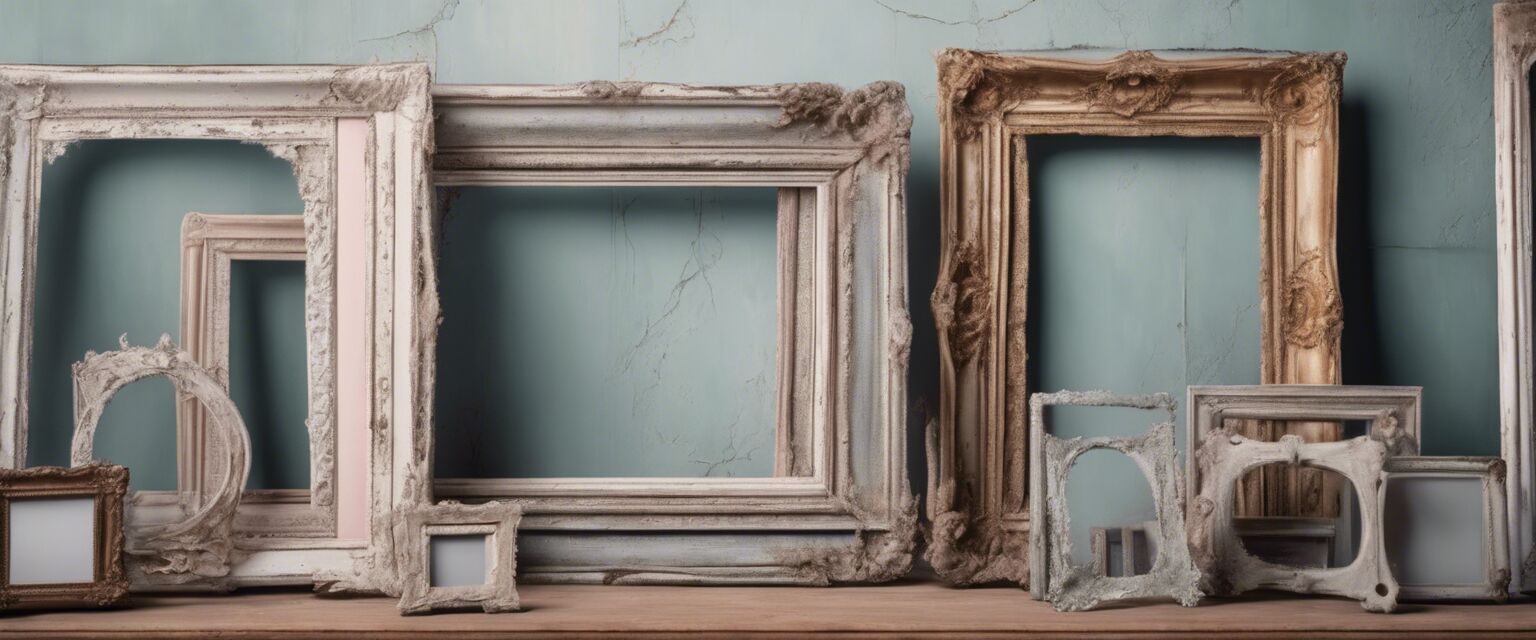
This project is perfect for beginners and allows for creativity in design.
Materials Needed:
- Wooden picture frames
- Sandpaper
- Acrylic paint in pastel colors
- Clear sealant
Steps:
- Sand down the wooden frames to create a distressed look.
- Apply the acrylic paint, using different colors for a unique effect.
- Once dry, apply a clear sealant for protection.
- Display your frames with cherished photos!
2. Shabby Chic Fabric Garland
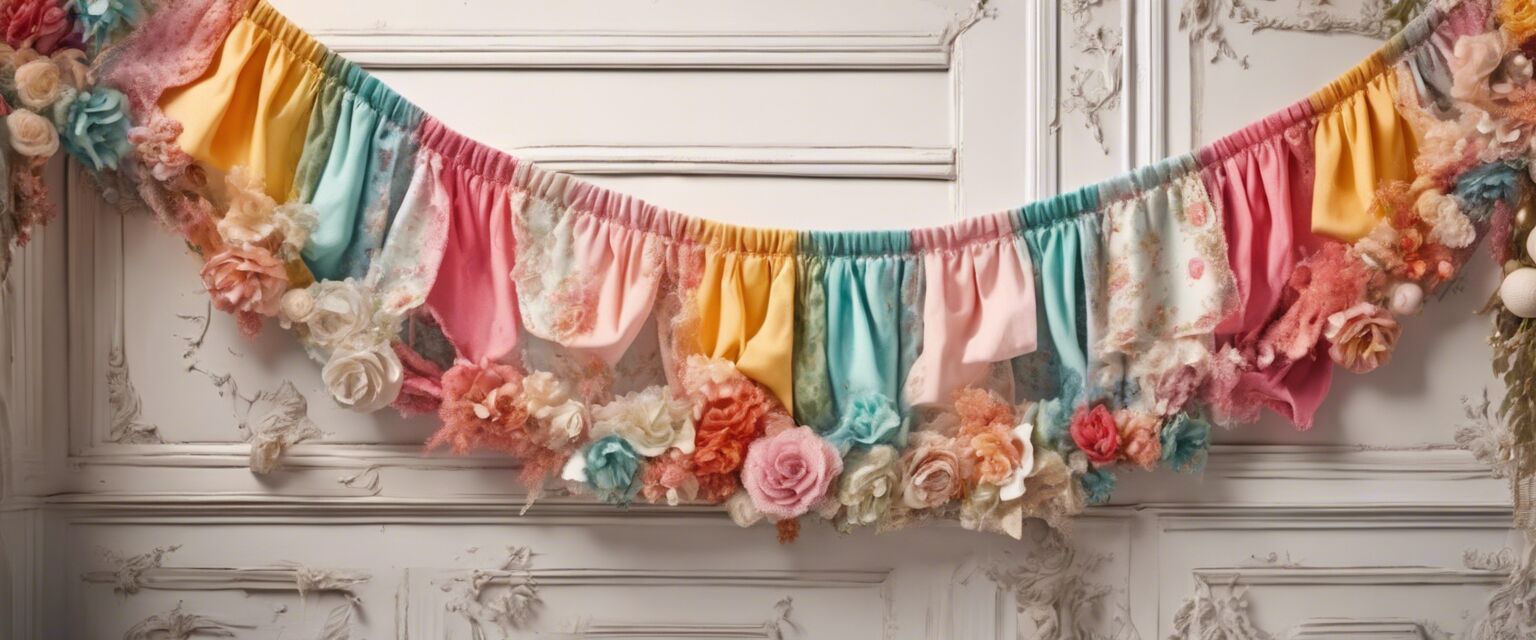
Fabric garlands add a playful touch to any room.
Materials Needed:
- Various fabrics in coordinating colors
- Scissors
- String or twine
- Hot glue gun
Steps:
- Cut fabric into strips of equal length.
- Tie the strips onto the string at equal intervals.
- Hang the garland in your desired location.
3. Upcycled Shabby Chic Furniture
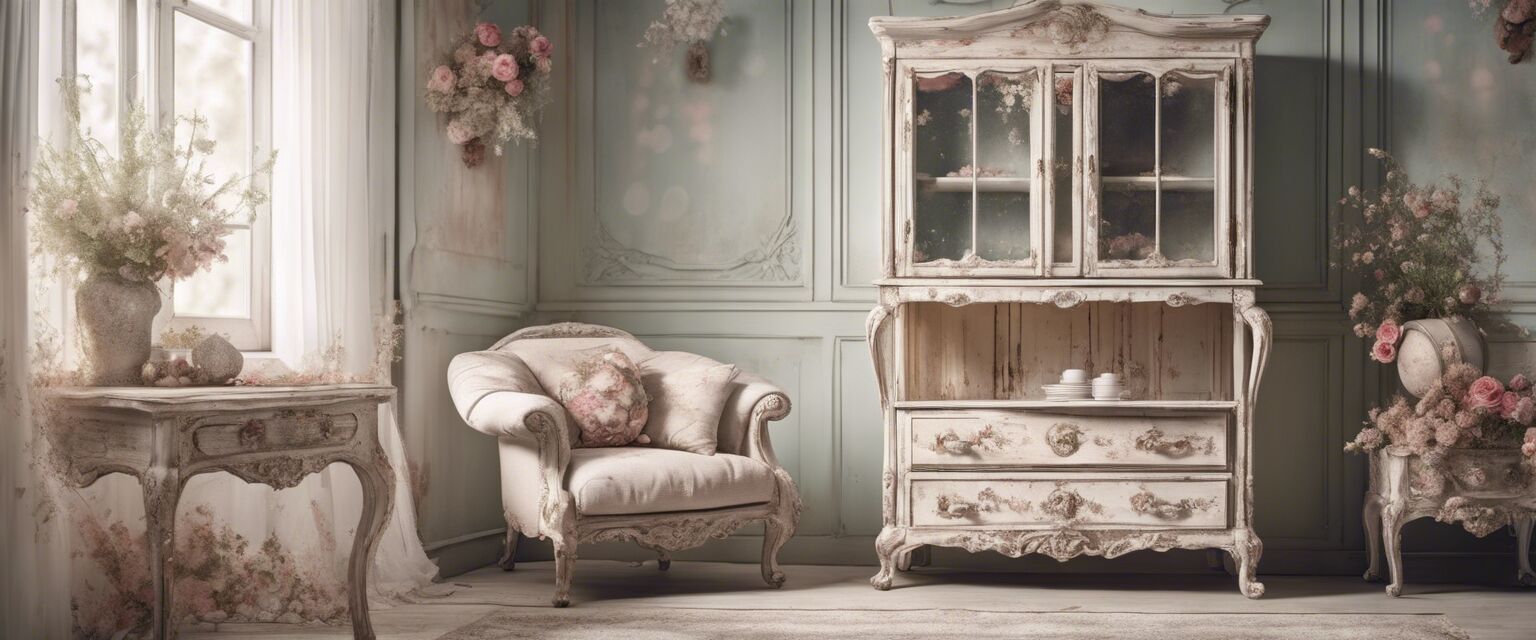
This project takes more time but offers stunning results!
Materials Needed:
- Old furniture piece (e.g., chair, table)
- Sandpaper
- Paint or chalk paint
- Wooden knobs or handles (optional)
Steps:
- Sand down the furniture to remove old finishes.
- Paint the furniture in your chosen color, allowing for distressing afterward.
- Add new knobs or handles for an extra touch.
- Seal with a protective finish.
Where to Find Inspiration for Shabby Chic DIY Projects
Inspiration can come from various sources. Consider visiting:
- Shabby Chic Decor
- Shabby Chic Furniture
- Shabby Chic Kitchen
- Shabby Chic Living Room
- Shabby Chic Bathroom
Final Thoughts
Embarking on shabby chic DIY projects can transform not only your home but also provide a fulfilling experience as you craft vintage-inspired pieces. Start with simple projects and work your way up to more complex pieces as you gain confidence and skill. Don't be afraid to make each piece your ownâyour unique touch is what will make your space truly special.
Tips for Successful DIY Projects
- Gather all materials before starting your project.
- Don't rush the process - allow paint and glue to cure properly.
- Experiment with colors and materials to find what works best for you.
- Share your projects on social media for inspiration and feedback.
